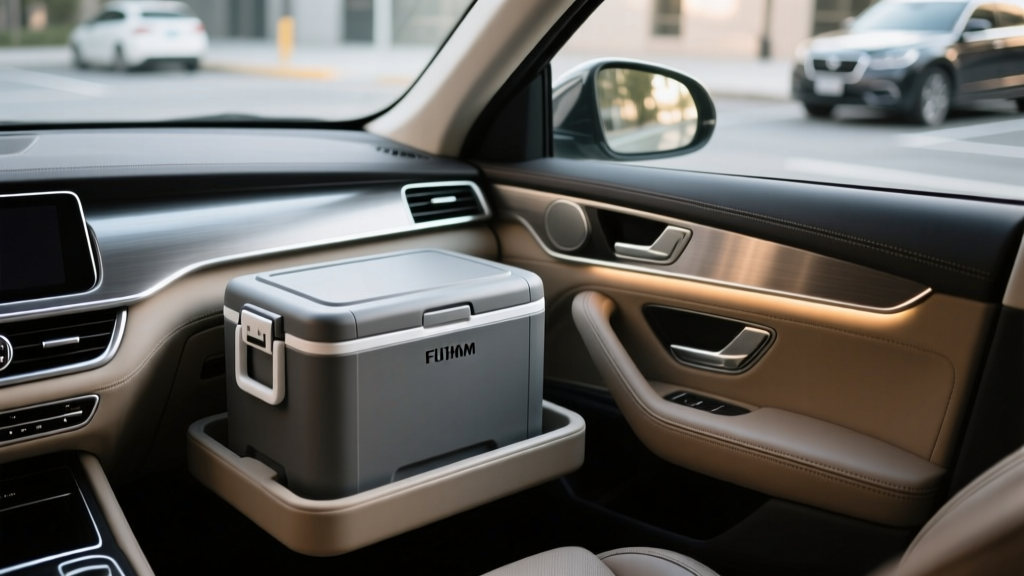
Cooler Box Installation: Seasonal Protection Guide (2026)
A cooler box in the car seems simple?until summer heat, winter condensation, and daily stop-and-go driving turn it into a messy, sliding, sometimes leaky accessory that can stain carpets, crack plastic trims, and leave your cabin smelling like yesterday?s snacks. Whether you?re packing cold drinks for a beach run, keeping groceries chilled, or carrying temperature-sensitive items on a road trip, installing your cooler box the right way protects your car?s interior and makes the cooler far more usable.
This guide focuses on seasonal protection: how heat, humidity, rain, snow, and road salt change the risks inside your cabin?and how to adjust your setup through the year. You?ll learn where to place a cooler for safety, how to prevent leaks and scuffs, and what accessories are actually worth buying.
The payoff is big: cleaner upholstery, fewer scratches on plastics, safer driving (no flying coolers in sudden braking), and better cooling performance because the lid stays sealed and the box stays level. Let?s set it up once?then tweak it seasonally in minutes.
Why Seasonal Installation Protection Matters
Summer: Heat, Meltwater, and Odors
- Heat load: A hot cabin forces the cooler to work harder, increasing meltwater and condensation.
- Odors: Spilled sugary drinks or melted ice can soak into carpet padding and linger.
- UV exposure: Direct sun can warp cheaper plastics and fade fabrics near the cooler.
Winter: Condensation, Slush, and Salt
- Cold-to-warm transitions: Bringing a cooler from freezing temps into a warm cabin can create heavy condensation.
- Slush and road salt: Wet boots + cooler water is a recipe for stained mats and corroded seat hardware.
- Brittle plastics: Interior trim is more prone to scuffing and cracking when cold.
Spring/Fall: Rain, Mud, and ?Forgotten Cooler? Syndrome
- Wet gear: Muddy sports equipment and rain-soaked bags increase moisture around the cooler.
- Mildew risk: A sealed cooler left in the car after a weekend trip can create musty smells fast.
Choosing the Best Cooler Box Location (Safety + Interior Protection)
Best overall: Cargo area/trunk with tie-downs
If your vehicle has a cargo area, it?s usually the safest place. You can secure the cooler using factory hooks and keep leaks away from seating surfaces.
- Use a rubber cargo liner or a waterproof mat under the cooler.
- Keep the cooler tight against the seatbacks to reduce sliding.
Second best: Rear footwell (for smaller coolers)
For sedans or tight trunks, a compact cooler can sit in the rear footwell where it?s naturally ?boxed in.? This reduces slide distance and helps with stability.
- Put it on an all-weather floor mat with raised edges.
- Avoid blocking rear passenger foot space if you?ll carry people.
Use caution: On a seat
A cooler on a seat is convenient but risky for upholstery. It can also become a projectile if not secured.
- Only do this if you can seatbelt the cooler tightly and you?re using a waterproof seat protector.
- Never place it on the front passenger seat if it interferes with airbags or driver visibility.
Avoid: Behind the driver?s seat without restraint
This common ?quick drop? location leads to scuffed seatbacks, crushed air vents (in some vehicles), and sudden shifting during braking.
What You?ll Need: Protection and Installation Essentials
You don?t need a garage full of gear. A few well-chosen items make a major difference in preventing leaks, scratches, and interior wear.
Core protection kit
- Waterproof base: Rubber cargo liner, trunk mat, or a thick utility tray
- Absorbent layer: Microfiber towel or absorbent pad (great for condensation)
- Restraint system: Ratchet straps, cam buckle straps, or a cargo net
- Corner protection: Soft edge guards or a folded towel where the cooler touches trim
Nice-to-have upgrades
- Leakproof inner bins (for meats, ice packs, or messy items)
- 12V powered cooler with a low-voltage cutoff (for long drives)
- Quick-clean wipes and an enzymatic interior cleaner for ?oops? moments
Step-by-Step: Installing a Cooler Box Without Damaging Your Interior
Step 1: Measure and test-fit (2 minutes)
- Measure the cooler?s length, width, and height (including lid clearance).
- Place it in the intended spot and confirm:
- The lid can open without hitting trim
- It doesn?t block seat latches, child seat anchors, or cargo cover operation
- It doesn?t crush wiring, vents, or storage lids
Step 2: Create a waterproof ?cooler zone?
- Lay down your rubber mat/liner first.
- Add a microfiber towel or absorbent pad on top if condensation is likely.
- If your liner is textured and the cooler slides, add a thin non-slip shelf liner between layers.
Real-world example: A beach trip cooler with bagged ice will often sweat around the drain plug. An absorbent layer prevents that moisture from creeping under the liner and pooling in carpet seams.
Step 3: Position for stability
- Place the cooler with the heaviest side facing the center of the vehicle.
- Keep it level to reduce meltwater slosh (and improve seal contact on the lid).
- Leave a small gap (about a finger width) from delicate trim panels to prevent rub marks.
Step 4: Secure it?don?t rely on friction
- Use factory cargo hooks or tie-down points.
- Run two straps:
- One front-to-back to stop braking movement
- One side-to-side to stop cornering movement
- Tighten until the cooler doesn?t shift, but avoid crushing soft-sided coolers.
If you?re using a rear seat location, route the seatbelt through the handle (if designed for it) or around the cooler body, then lock the belt by fully extending it and letting it retract.
Step 5: Leak-control setup (the interior-saver step)
- Keep the drain plug facing outward for quick checks.
- Place liquids inside secondary containment:
- Zip-top bags for ice
- Small bins for meats or marinades
- Reusable silicone bags for snack packs
- Prefer ice packs over loose ice for everyday driving?less water, less mess.
Step 6: Final safety check before driving
- Try to slide the cooler with moderate force?if it moves, tighten or re-route straps.
- Confirm it won?t interfere with folding seats, rear visibility, or emergency gear access.
- Keep heavy coolers out of the passenger compartment if you can?t secure them properly.
Seasonal Adjustments: Summer vs. Winter Protection
Summer setup tips (heat + meltwater)
- Pre-chill the cooler at home with an ice pack for 30?60 minutes; it reduces cabin sweating later.
- Use block ice or larger ice packs for slower melt and less slosh.
- Shade matters: In SUVs, a cargo cover or a reflective window shade can reduce heat load on the cooler.
- Odor prevention: Keep a small sealed trash bag or container in the cooler zone for wrappers and food scraps.
Winter setup tips (condensation + salt)
- Double-layer your base: Rubber liner + absorbent pad is ideal when condensation is heavy.
- Keep salt away from carpet seams: Use all-weather mats with tall edges in footwell installs.
- Avoid brittle trim contact: Add a towel buffer where the cooler might rub interior plastics.
- Warm cabin, cold cooler: Expect sweating when you heat the car?check the towel layer during stops.
Spring/Fall setup tips (mud + mildew)
- Vent after trips: Crack the cooler lid when parked at home to dry it out (not while driving).
- Remove weekly: A ?set and forget? cooler becomes a mildew box fast during damp seasons.
Cooler Box Types: What Works Best for Car Interiors
Hard-sided coolers
Best for: Road trips, groceries, longer cooling performance.
- Pros: Durable, better insulation, stable shape for strapping
- Cons: Can scratch trims, heavier, corners can dig into upholstery
Soft-sided coolers
Best for: Daily errands, smaller vehicles, easier carrying.
- Pros: Gentler on interiors, lighter, easier to wedge into footwells
- Cons: More likely to tip or deform under straps; insulation varies widely
12V powered coolers / portable fridge-freezers
Best for: Frequent travelers, camping, long commutes with meals, pet/medical transport.
- Pros: Consistent temperature, no meltwater, less odor risk
- Cons: Needs secure wiring and ventilation space; higher cost
Product Recommendations and Smart Comparisons
Rather than chasing a specific brand, focus on features that protect your interior and improve day-to-day usability.
Best protection accessories (high impact, low cost)
- All-weather cargo liner or trunk tray: Look for raised edges and a grippy surface.
- Cam buckle straps (not bungee cords): Cam straps hold tension without sudden snap-back risk.
- Cargo net: Great for light coolers; combine with a liner for a complete solution.
- Waterproof seat protector (if using a seat): Choose one with a non-slip backing.
Choosing between ice packs and loose ice
- Ice packs: Cleaner and safer for interior protection; ideal for routine use.
- Loose ice: Better raw cooling power but creates meltwater; use bagged ice and secondary containment.
If you?re considering a powered cooler
- Pick a unit with low-voltage cutoff to protect your car battery.
- Measure your cargo area height?many units need lid clearance or side vent space.
- Plan cable routing so it doesn?t pinch in seat tracks or hatch hinges.
Common Mistakes to Avoid
- Skipping tie-downs: A heavy cooler can become dangerous in a panic stop and will also chew up your interior as it slides.
- Placing the cooler directly on carpet: Meltwater wicks into padding and smells are hard to remove.
- Over-tightening straps on soft coolers: You can deform the lid seal and increase leakage.
- Letting the cooler rub trim panels: Even ?light? vibration causes scuffing over time?add a buffer.
- Storing loose cans and bottles inside the cooler zone: They roll, dent trims, and can jam seat rails.
- Forgetting post-trip cleanup: One small spill left for a week can permanently stain stitching or carpet edges.
Quick Cleanup and Odor Prevention (After Every Trip)
- Remove the cooler and shake out the towel/absorbent pad.
- Wipe the liner with mild soap and water; dry it before reinstalling.
- If any liquid reached carpet or upholstery:
- Blot immediately (don?t rub)
- Use an enzyme-based interior cleaner for food/drink spills
- Let the area fully dry with airflow
- Leave the cooler lid open at home to air out, especially in spring/fall humidity.
FAQ: Seasonal Cooler Box Installation Protection
1) Is it safe to keep a cooler box inside the passenger cabin?
Yes, if it?s properly restrained. Use seatbelts or straps to prevent movement during braking and turns. If you can?t secure it tightly, the trunk/cargo area is safer.
2) What?s the best way to stop a cooler from leaking into carpet?
Use a waterproof base (cargo liner or tray), add an absorbent layer for condensation, and choose ice packs or bagged ice. Also check the drain plug and gasket before each trip.
3) Will a cooler damage leather or fabric seats?
It can. Hard corners, vibration, and moisture are the main problems. If you must place it on a seat, use a waterproof seat protector and buffer the edges with a towel, then lock it down with a seatbelt.
4) Are bungee cords okay for securing a cooler?
They?re not ideal. Bungees can lose tension, allow shifting, and can snap back dangerously. Cam buckle straps or a proper cargo net provide more stable restraint.
5) How do I protect my interior in winter when condensation is unavoidable?
Plan for moisture: rubber liner plus an absorbent towel/pad, keep the cooler slightly separated from trim, and check the area during longer drives. All-weather mats with raised edges help in footwell installs.
6) Do powered coolers eliminate interior mess?
They reduce mess significantly because there?s no melting ice, but you still need a liner for spills and to protect trim. Also ensure safe cable routing and battery protection features.
Next Steps: Build a Cooler Setup You Can Use Year-Round
Start with the basics: pick a stable location, lay down a waterproof liner, and secure the cooler with real tie-downs. Then tailor it to the season?more condensation control in winter, more heat management in summer, and more ?dry-out discipline? in the damp months. Once you?ve built a dedicated cooler zone, you?ll spend less time cleaning and more time enjoying the drive.
For more practical interior protection ideas, storage hacks, and cleaning how-tos, explore more guides on carinteriormix.com.